8 minutes
How to Make and Deploy a Static Site Using Hugo and Vercel

Static Sites, the name may sound very dull, but it is the best thing if you want to make a simple website that will serve static content. The static sites are often made with JAMStack frameworks (JavaScript, APIs, and Markup) if not completely made from scratch. Few static site generators for JAMStack are Jekyll, Hugo, Next.js, Nuxt.js, GitBook, Hexo, Gatsby, etc. The main goal of JAMStack is to generate all the pages (in HTML / CSS / JS) or content at deploy time. Thus no JAMStack site depends on a particular web server that relies on a backend language.
I chose Hugo because it is faster than any JavaScript-based static site generators (Yes, I’m talking about the bulky node_modules of the JS frameworks). Hugo is written in Go and from the project generation to deployment, it is lightning fast.
Now, without much talk, let’s dive into the step by step guide.
1. Install Hugo
You can follow this link to the official guide to install Hugo.
Installing the
hugo-extendedpackage is recommended as it supports Sass / SCSS and many Hugo themes use Sass / SCSS. Sass based Hugo themes won’t work in the basic Hugo installation.
2. Create a new site
The following command will create a new Hugo site in a new directory called mysite.
$ hugo new site mysite
3. Add a theme to the site
Themes are a very important part of Hugo. It can alter the look and feel of the site and can also change the functionality of the site to some extent. Check the Hugo theme gallery @ themes.gohugo.io
I am using the hello-friend-ng theme for this site.
$ cd mysite
$ git init
$ git submodule add https://github.com/rhazdon/hugo-theme-hello-friend-ng.git themes/hello-friend-ng
If you want to edit the theme, go to the GitHub repo and fork it. After committing the changes, we can add the forked repo as a submodule of our Hugo site.
The site directory contents look like this:
Mode                 LastWriteTime         Length Name
----                 -------------         ------ ----
d----          05-07-2020 11:22 PM                archetypes
d----          05-07-2020 11:22 PM                content
d----          05-07-2020 11:22 PM                data
d----          05-07-2020 11:22 PM                layouts
d----          05-07-2020 11:24 PM                resources
d----          05-07-2020 11:22 PM                static
d----          05-07-2020 11:22 PM                themes
-a---          05-07-2020 11:23 PM            133 .gitmodules
-a---          05-07-2020 11:31 PM            107 config.toml
Add this line theme = "hello-friend-ng" at the end of the config.toml file.
4. Run the development server
From the mysite directory, run the following command to start a development server to get a preview of the site in localhost. Open the given localhost address given by the Hugo server.
$ hugo server -D
port 1313 already in use, attempting to use an available port
Building sites …
| EN
-------------------+-----
Pages | 7
Paginator pages | 0
Non-page files | 0
Static files | 12
Processed images | 0
Aliases | 2
Sitemaps | 1
Cleaned | 0
Built in 52 ms
Watching for changes in D:\Projects\static_site\mysite\{archetypes,content,data,layouts,static,themes}
Watching for config changes in D:\Projects\static_site\mysite\config.toml
Environment: "development"
Serving pages from memory
Running in Fast Render Mode. For full rebuilds on change: hugo server --disableFastRender
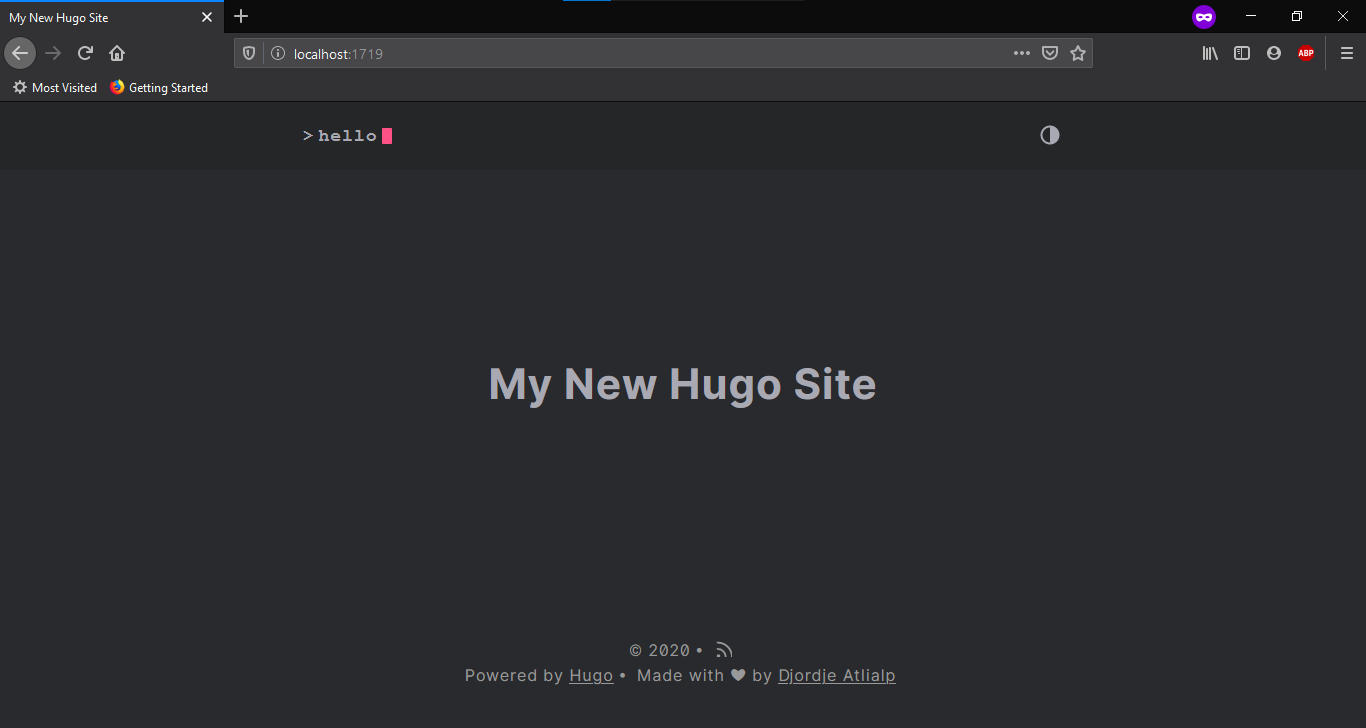
Web Server is available at http://localhost:1719/ (bind address 127.0.0.1)
Press Ctrl+C to stop
As our server is running, let’s see what we have got in the browser.
5. Configure the theme
In step #3 we added a line in the config.toml file to configure Hugo to use a theme. This file contains various configuration for Hugo. Available configurations are documented here. Most of the Hugo themes comes with an example site. Let’s have a look assuming the present working directory is mysite/.
$ ls -l themes/hello-friend-ng/
total 12
-rwxrwxrwx 1 drake drake  511 Jul  5 23:23 CHANGELOG.md
-rwxrwxrwx 1 drake drake  279 Jul  5 23:23 CONTRIBUTING.md
-rwxrwxrwx 1 drake drake 1203 Jul  5 23:23 LICENSE.md
-rwxrwxrwx 1 drake drake 6869 Jul  5 23:23 README.md
drwxrwxrwx 1 drake drake 4096 Jul  5 23:23 archetypes
drwxrwxrwx 1 drake drake 4096 Jul  5 23:23 assets
drwxrwxrwx 1 drake drake 4096 Jul  5 23:23 data
drwxrwxrwx 1 drake drake 4096 Jul  5 23:23 docs
drwxrwxrwx 1 drake drake 4096 Jul  5 23:23 exampleSite
drwxrwxrwx 1 drake drake 4096 Jul  5 23:23 i18n
drwxrwxrwx 1 drake drake 4096 Jul  5 23:23 images
drwxrwxrwx 1 drake drake 4096 Jul  5 23:23 layouts
drwxrwxrwx 1 drake drake 4096 Jul  5 23:23 static
-rwxrwxrwx 1 drake drake  717 Jul  5 23:23 theme.toml
$ ls -l themes/hello-friend-ng/exampleSite/
total 8
-rwxrwxrwx 1 drake drake 4160 Jul  5 23:23 config.toml
drwxrwxrwx 1 drake drake 4096 Jul  5 23:23 content
drwxrwxrwx 1 drake drake 4096 Jul  5 23:23 resources
As we can see, our theme has an example site and It contains a config.toml file. Let’s copy the file to our main site root.
$ cp themes/hello-friend-ng/exampleSite/config.toml config.toml
Starting the Hugo server again, we will see a few changes:
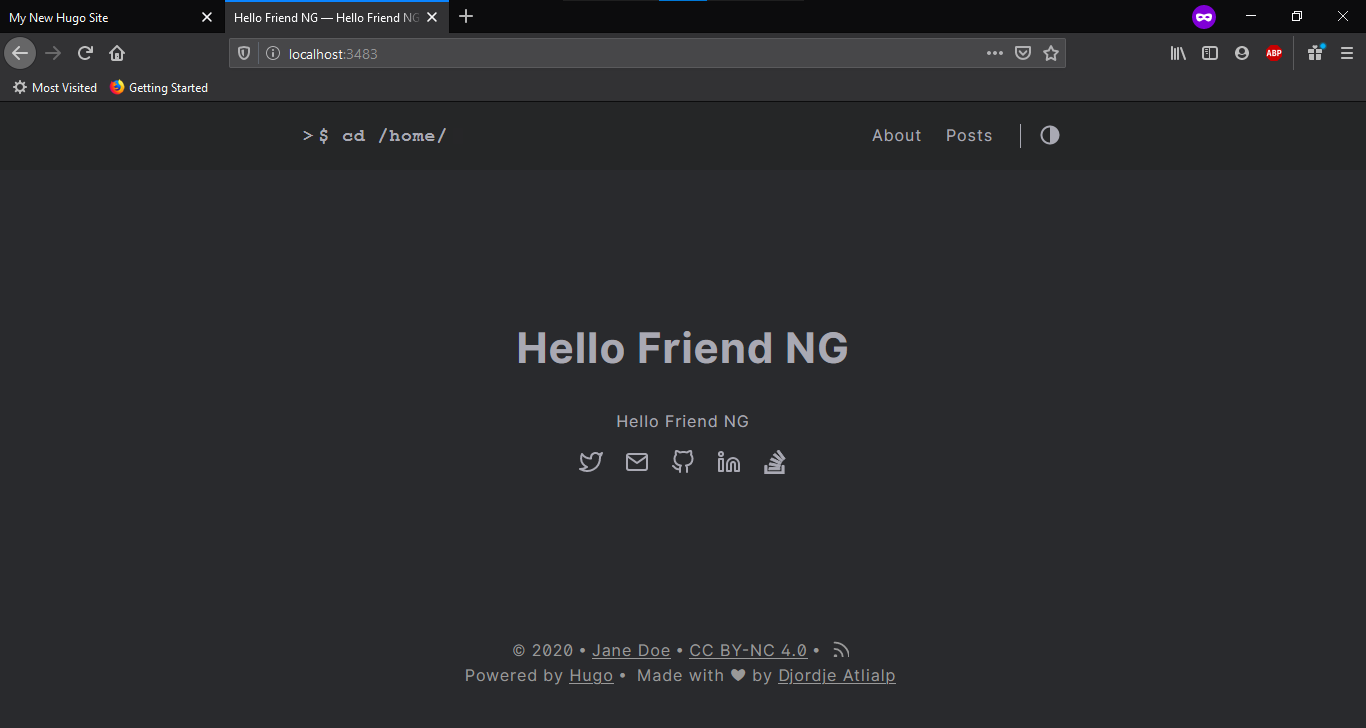
These can be changed to your liking by altering some property in the config.toml file. This particular theme is aimed to create a portfolio website, So we can start changing the name, add a subtitle, add an image, configure the social media links, etc.
...
title = "<your name here>"
...
homeSubtitle = "<about you in subtitle>"
...
[author]
  name = "<your name here>"
...
[params.portrait]
    path     = "images/<your picture>.jpg"
    alt      = "Portrait"
    maxWidth = "150px"
...
[[params.social]]
    name = "email"
    url  = "mailto:<your email>"

[[params.social]]
    name = "linkedin"
    url  = "<your linkedin id>"

[[params.social]]
    name = "github"
    url  = "<your github id>"

[[params.social]]
    name = "twitter"
    url  = "<your twitter handle>"
Most of the configuration is well documented in the example site provided by the theme, I will not discuss these to keep this blog concise.
Note: To serve any static content, keep them inside the
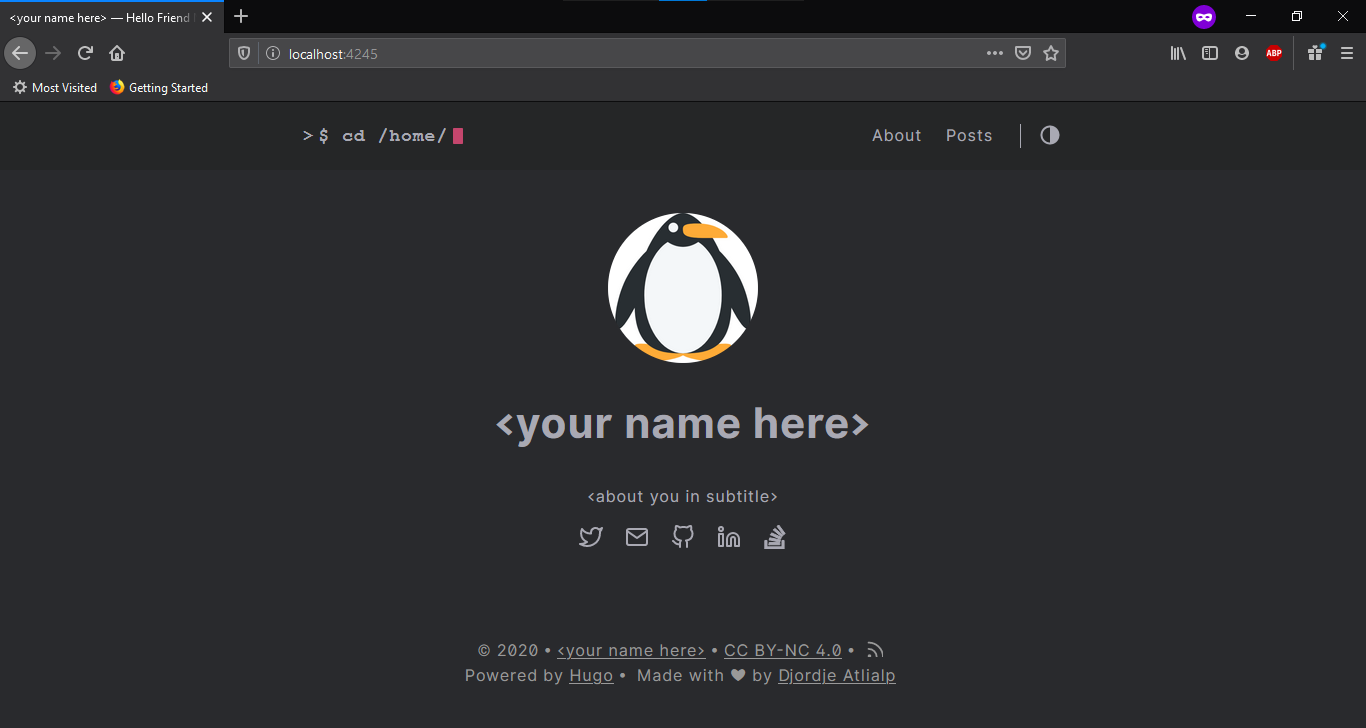
static/directory of the site root. All contents of thisstatic/directory will be copied to the site root while deploying. To add the profile image, I made a directoryimages/insidestatic/then placed the image there. I have used a nice :penguin: emoji as the profile photo in this demo.
After applying the above settings, the site homepage looks like this:
6. Add a post
To add a post, the easiest way is hugo new command:
$ hugo new posts/first_post.md
The file will be generated in content/posts/. It will have some automatically generated metadata like this:
---
title: "First_post"
date: 2020-07-07T11:15:51+05:30
draft: true
toc: false
images:
tags:
  - untagged
---
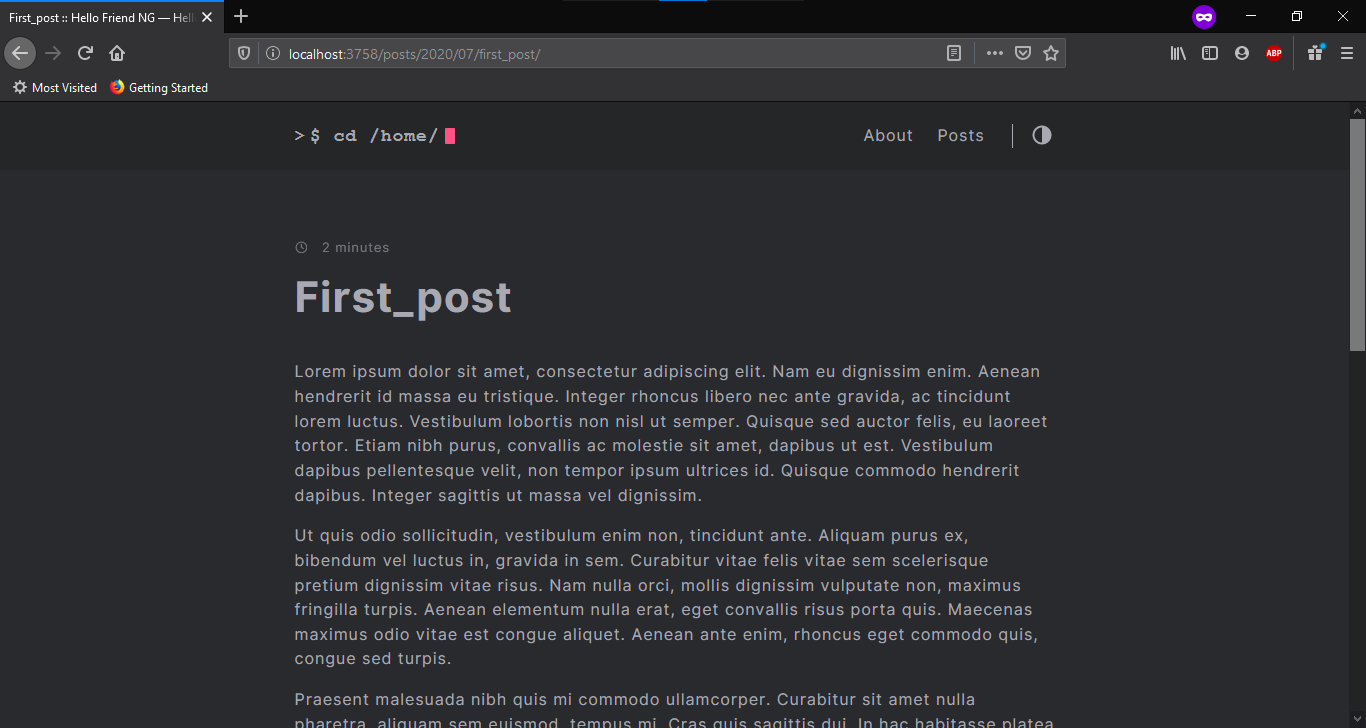
After filling it up with some lorem ipsum using lipsum.com the post looks like this:
7. Deployment
There are many free and paid options to host a static site like GitHub Pages, GitLab Pages, Netlify, Vercel, Firebase, Google Cloud Platform, Google Drive + Fast.io, and many more. I chose Vercel as suggested by @xprilion which provides fast deployment almost without any configuration and supports many JAMStack frameworks. Vercel uses GitHub / GitLab / BitBucket as the source with automatic deployment and provides free SSL on every site. Another best feature about Vercel is that it provides this super cool .now.sh domains for free.
Before the deployment, we need to define the baseURL property in config.toml file. This property should contain the final hostname of the site after deployment. Vercel by default provide https://<project_name>.vercel.app as domain name. For this project, it will be https://hugo-static-site.vercel.app/. Use the following line:
baseURL = ["https://hugo-static-site.vercel.app/", "localhost"]
We can provide multiple hostnames as a list to make to site functional in many hosts, localhost will allow us to develop the site in our system.
To deploy the site, we need to create a GitHub Repository, I named it hugo_static_site. Now add it as a remote to our mysite local repository, track all files, commit all files, and push to master.
$ git remote add origin https://github.com/forkbomb-666/hugo_static_site.git
$ git add .
$ git commit -am "first commit"
$ git push origin master
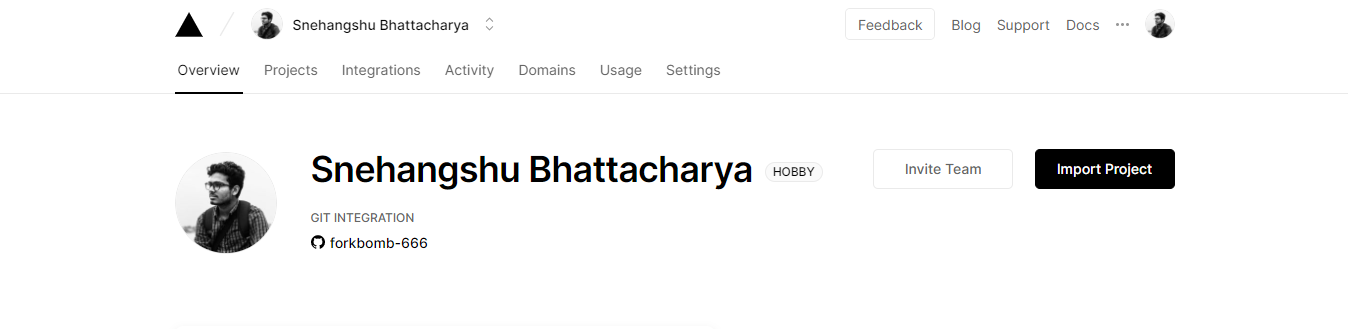
Now, sign up in Vercel with GitHub. From the homepage, click Import Project.
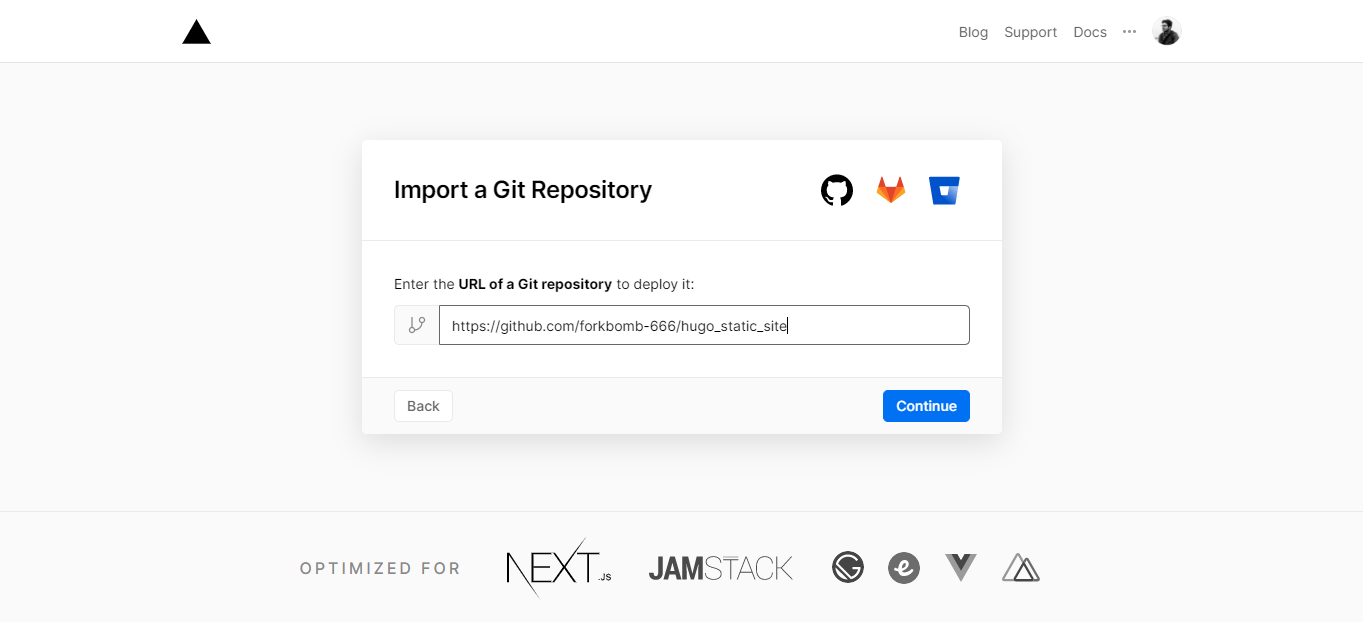
Now choose Import Git Repository option and paste the repo URL and click Continue.
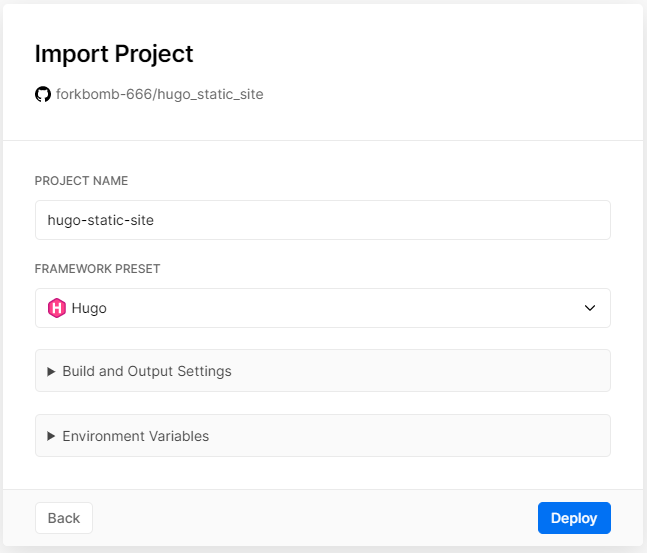
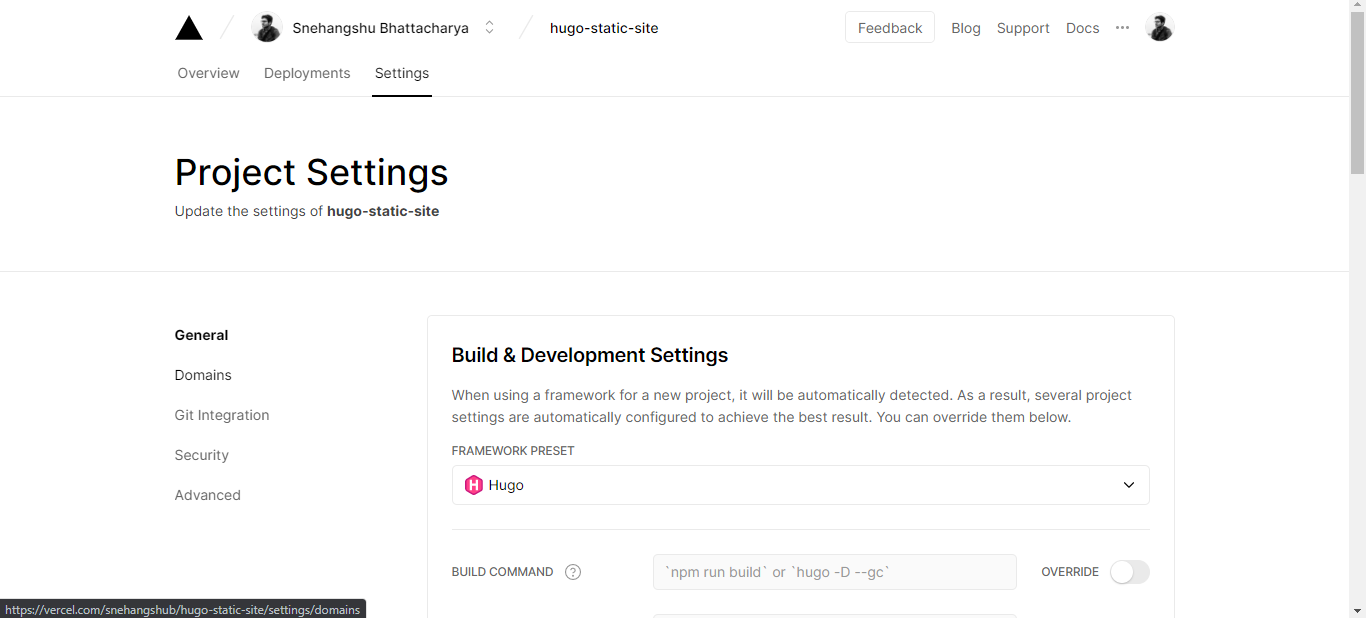
Vercel should automatically detect the Framework Preset as Hugo, if it fails to do so, choose Hugo from the Framework Preset and click Deploy. You can change the project name as per your requirement. The deployment should complete within 15 seconds.
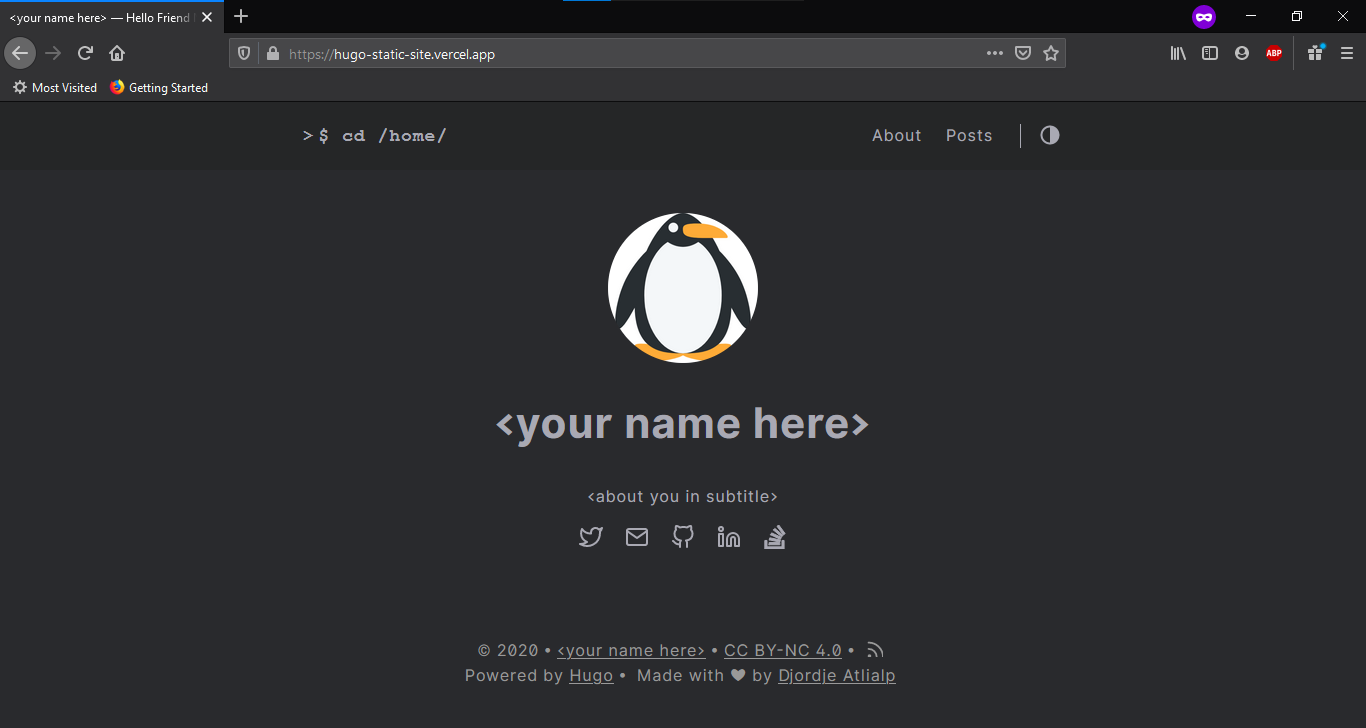
Now the site is deployed to https://hugo-static-site.vercel.app/
8. Change the domain to now.sh!
Before going further, we need to add https://hugo-static-site.now.sh/ to our baseURL property in config.toml and commit and push the change to GitHub, after that, in Vercel project page, go to Settings :arrow_right: Domains.
In the domains section, click Edit.
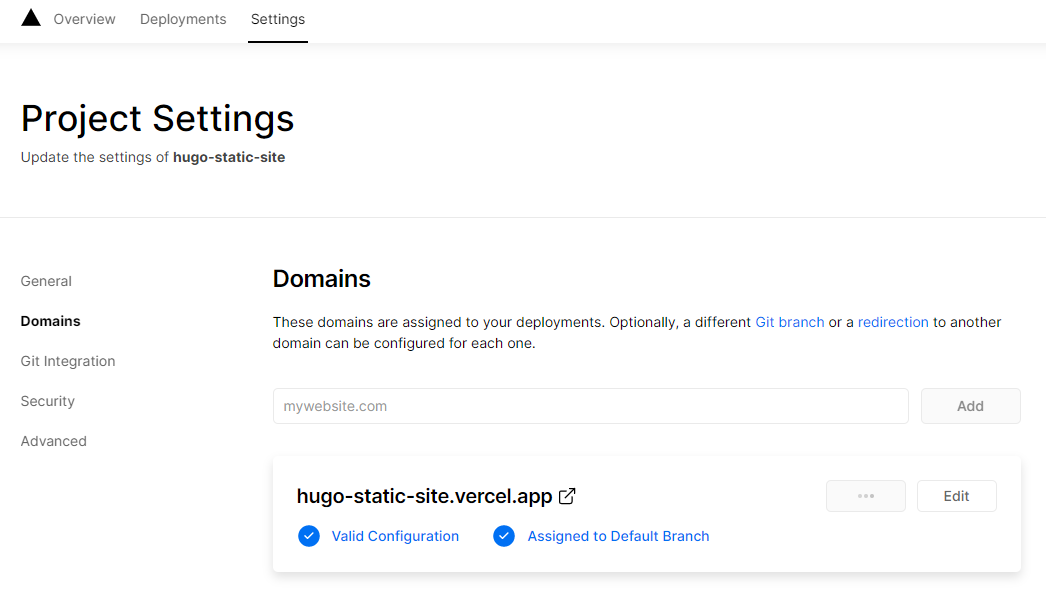
Change the domain to hugo-static-site.now.sh and click save.
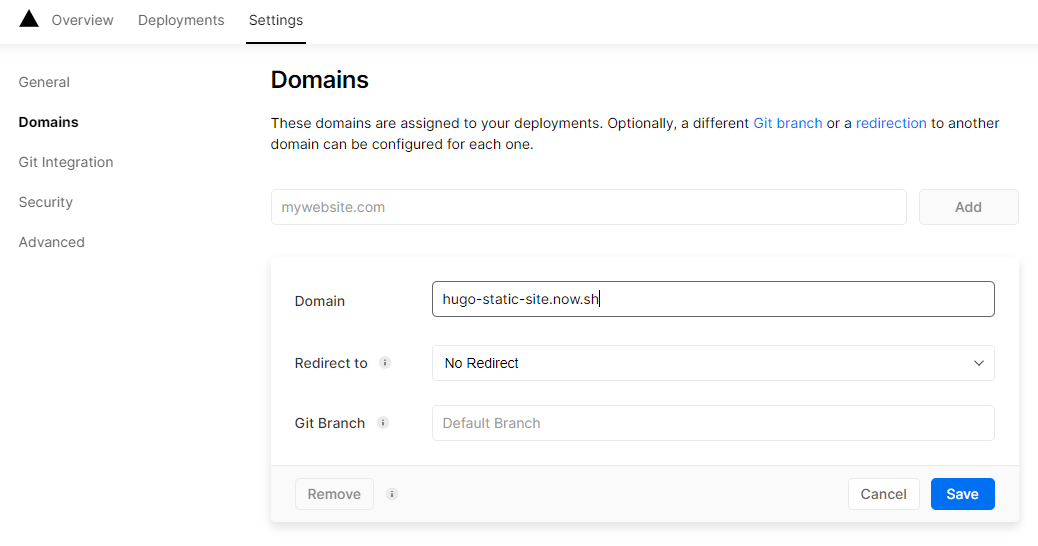
The final site can now be visited at https://hugo-static-site.now.sh/.
Final Thoughts
Thank you for reading this post to the end! Here, I shared my process of creating a static portfolio + blog site that may inspire you to make your static portfolio site. I would like to acknowledge Anubhav Singh who suggested me to use Vercel and it was amazing! As this is my first blog, I am eager to hear your feedback @snehangshu_!
References
Hugo Documentation by Hugo Authors
Hugo Theme hello-friend-ng by Djordje Atlialp